

前言
度过春节期间的安逸期,需要从慵懒的状态尽快恢复过来,节前有几个月时间,趁着公司业务线不怎么繁忙,抱着学习的态度,尝试将 YY 大神的 YYText 用 Swift 重新实现一下(之前用 Swift 最多写写 Demo,没有用来做项目)。但是由于年前还有个 bug 没有修复,怕大家的 issue 雪花般飞过来,果断没敢开源出来。新年新气象,改完 bug 赶紧和大家分享一下啦 😁
目前项目已经实现了 YYText 中的所有功能,如果大家遇到什么问题,欢迎提 issue,或者邮箱联系 a1049145827@hotmail.com ,如果觉得有用,请不要吝惜您的 star ✨。
用过 YYText 的同学应该已经相当熟悉了,传送门。
一些挑战
由于近年来 Swift 发展迅速,ABI 一直不能稳定下来,导致开发者们都在吐槽:“每年学习一门新语言”,这样就直接导致在网上查资料非常困难,好不容易查到的资料,demo 代码甚至都不能通过编译,这样推进的效率大打折扣,确实非常痛苦,眼看 Swift 就要发布 Swift5,心里似乎又有了希望。于是决心要用 Swift 把 YYText 的功能实现一遍,一来练习 Swift 语法,二来以后也可以持续维护,希望好的轮子可以被更多的开发者认可和采用,目前本项目已经可以在 Swift5 (Xcode10 beta3)环境下正常编译运行。
项目介绍
功能强大的 iOS 富文本编辑与显示框架。
(该项目是 YYText 的 Swift 版本,项目的前缀 ‘BS’ 来自于 BlueSky,就是创作了《冰河世纪》系列电影的 BlueSky 工作室)
特性
- API 兼容 UILabel 和 UITextView
- 支持高性能的异步排版和渲染
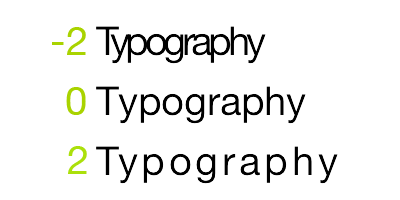
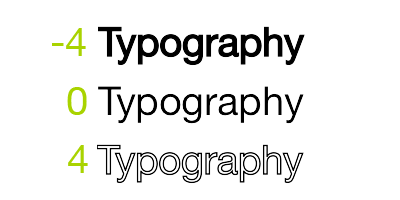
- 扩展了 CoreText 的属性以支持更多文字效果
- 支持 UIImage、UIView、CALayer 作为图文混排元素
- 支持添加自定义样式的、可点击的文本高亮范围
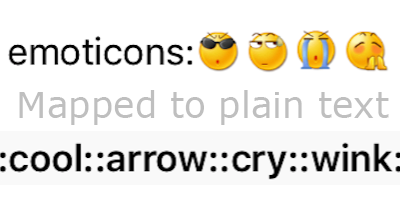
- 支持自定义文本解析 (内置简单的 Markdown/表情解析)
- 支持文本容器路径、内部留空路径的控制
- 支持文字竖排版,可用于编辑和显示中日韩文本
- 支持图片和富文本的复制粘贴
- 文本编辑时,支持富文本占位符
- 支持自定义键盘视图
- 撤销和重做次数的控制
- 富文本的序列化与反序列化支持
- 支持多语言,支持 VoiceOver
- 全部代码都有文档注释
架构
本项目架构与 YYText 保持一致
文本属性
BSText 原生支持的属性
| Demo | Attribute Name | Class |
|---|---|---|
 | TextAttachment | TextAttachment |
 | TextHighlight | TextHighlight |
 | TextBinding | TextBinding |
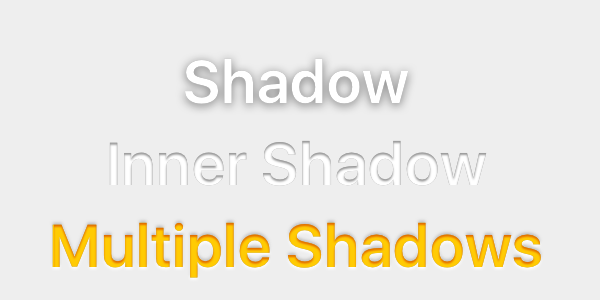 | TextShadow TextInnerShadow | TextShadow |
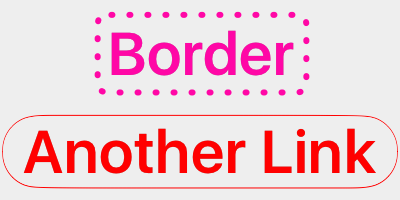 | TextBorder | TextBorder |
 | TextBackgroundBorder | TextBorder |
 | TextBlockBorder | TextBorder |
 | TextGlyphTransform | NSValue(CGAffineTransform) |
 | TextUnderline | TextDecoration |
 | TextStrickthrough | TextDecoration |
 | TextBackedString | TextBackedString |
BSText 支持的 CoreText 属性
| Demo | Attribute Name | Class |
|---|---|---|
 | Font | UIFont(CTFontRef) |
 | Kern | NSNumber |
 | StrokeWidth | NSNumber |
 | StrokeColor | CGColorRef |
 | Shadow | NSShadow |
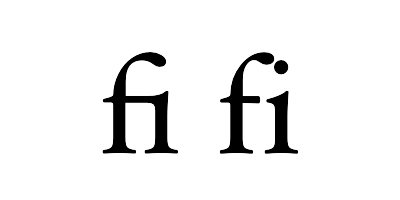 | Ligature | NSNumber |
 | VerticalGlyphForm | NSNumber(BOOL) |
 | WritingDirection | NSArray(NSNumber) |
 | RunDelegate | CTRunDelegateRef |
 | TextAlignment | NSParagraphStyle (NSTextAlignment) |
 | LineBreakMode | NSParagraphStyle (NSLineBreakMode) |
 | LineSpacing | NSParagraphStyle (CGFloat) |
 | ParagraphSpacing ParagraphSpacingBefore | NSParagraphStyle (CGFloat) |
 | FirstLineHeadIndent | NSParagraphStyle (CGFloat) |
 | HeadIndent | NSParagraphStyle (CGFloat) |
 | TailIndent | NSParagraphStyle (CGFloat) |
 | MinimumLineHeight | NSParagraphStyle (CGFloat) |
 | MaximumLineHeight | NSParagraphStyle (CGFloat) |
 | LineHeightMultiple | NSParagraphStyle (CGFloat) |
 | BaseWritingDirection | NSParagraphStyle (NSWritingDirection) |
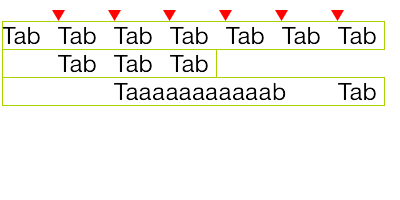 | DefaultTabInterval TabStops | NSParagraphStyle CGFloat/NSArray(NSTextTab) |
用法
基本用法
1 | // BSLabel (和 UILabel 用法一致) |
属性文本
1 | // 1. 创建一个属性文本 |
文本高亮
你可以用一些已经封装好的简便方法来设置文本高亮:
1 | text.bs_set(textHighlightRange: range, |
或者用更复杂的办法来调节文本高亮的细节:
1 | // 1. 创建一个"高亮"属性,当用户点击了高亮区域的文本时,"高亮"属性会替换掉原本的属性 |
图文混排
1 | let text = NSMutableAttributedString() |
文本布局计算
1 | let text = NSAttributedString() |
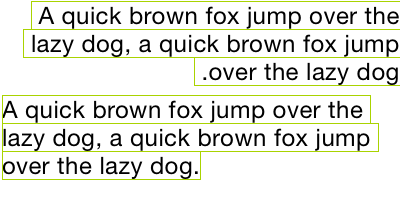
文本行位置调整
1 | // 由于中文、英文、Emoji 等字体高度不一致,或者富文本中出现了不同字号的字体, |
异步排版和渲染
1 | // 如果你在显示字符串时有性能问题,可以这样开启异步模式: |
文本容器控制
1 | let label = BSLabel() |
文本解析
1 | // 1. 创建一个解析器 |
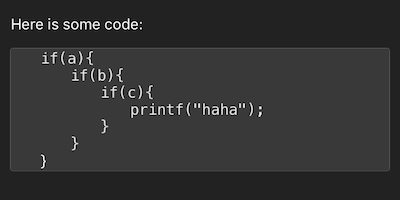
Debug
1 | // 设置一个全局的 debug option 来显示排版结果。 |
更多示例
查看演示工程 Demo/BSTextDemo.xcodeproj:


安装
CocoaPods
在 Podfile 中添加
pod 'BSText'。1
2
3
4
5
6
7
8
9source 'https://github.com/CocoaPods/Specs.git'
platform :ios, '8.0'
use_frameworks!
target 'MyApp' do
# your other pod
# ...
pod 'BSText', '~> 1.0'
end执行
pod install或pod update。导入模块
import BSText,OC 项目中使用@import BSText;。
Carthage
- 在 Cartfile 中添加
github "a1049145827/BSText"。 - 执行
carthage update --platform ios并将生成的 framework 添加到你的工程。 - 导入模块
import BSText,OC 项目中使用@import BSText;。
手动安装
- 下载 BSText 文件夹内的所有内容。
- 将 BSText 内的源文件添加(拖放)到你的工程。
- 链接以下 frameworks:
- UIKit
- CoreFoundation
- CoreText
- QuartzCore
- Accelerate
- MobileCoreServices
- 导入模块
import BSText,OC 项目中使用@import BSText;。
注意
你可以添加 YYImage 或 YYWebImage 到你的工程,以支持动画格式(GIF/APNG/WebP)的图片。
文档
本项目目前还没有生成在线文档,你可以在 CocoaDocs 查看 YYText 的在线 API 文档,也可以用 appledoc 本地生成文档。
系统要求
该项目最低支持 iOS 8.0 和 Xcode 10.0。
已知问题
- 与 YYText 一样,BSText 并不能支持所有 CoreText/TextKit 的属性,比如 NSBackgroundColor、NSStrikethrough、NSUnderline、NSAttachment、NSLink 等,但 BSText 中基本都有对应属性作为替代。详情见上方表格。
- BSTextView 未实现局部刷新,所以在输入和编辑大量的文本(比如超过大概五千个汉字、或大概一万个英文字符)时会出现较明显的卡顿现象。
- 竖排版时,添加 exclusionPaths 在少数情况下可能会导致文本显示空白。
- 当添加了非矩形的 textContainerPath,并且有嵌入大于文本排版方向宽度的 RunDelegate 时,RunDelegate 之后的文字会无法显示。这是 CoreText 的 Bug(或者说是 Feature)。